Friday, November 9, 2018

High School Display Case for Ceramics


What kid doesn't want to be recognized for their hard work. In fact, what teacher doesn't? We all do and it is nice when that comes to be. So I make it a point to consider the many ways I can show off my class. I put together a slideshow to highlight the students' work to play during the end-of-quarter performance celebration. I post their work periodically on Instagram. I hold art critiques after each firing and have each student present their pieces. I bring tea to the last class to fill their wheel thrown cups and make a toast to their efforts. And this quarter I was able to offer one more way to salute them; I secured a display case in the art hall exclusively for my class.


I offered up this possibility to the class. A group of kids jumped at the chance to lead the designing and implementing of it and got right to work. Meanwhile, I went home and built a few pedestals to add some dimension to the display. (My favorite tool in the shop is hands down the mitre saw so I had a blast!)


The students selected a wide range of clay projects, cut out letters, matted signs, and put it the whole thing together. They took great pride in this endeavor, arranging, rearranging and even offering to wash the glass doors. I am looking forward to walking by this case every day on my way to class. Kudos to my students and their successful display!

Tuesday, September 4, 2018

Making Clay Whistles

Learning to make whistles out of clay is a challenging but rewarding experience. I taught over eighty middle school students in the SPPS Freedom Schools Program this summer and had each one create their own spirit animal out of the basic whistle shape. 

To begin, I asked them to think about their personalities and what adjectives could be used to describe them. Then they were to consider what animal might share these qualities with them. For instance, one student described herself as "funny, comfy and smart" so she chose a Husky as her animal. The next step was to make some sketches and consider some of the different ways they could depict it. 

The basic whistle shape consists of three parts: a small bowl, a flat circle, and a rectangle. Each part starts out by rolling the clay into a ball then pinch one into a bowl shape, flatten one, and flatten the sides for the third. Connect these three pieces by scoring and adding slip. The air holes go in next. This is the trickiest part. It takes patience to get them placed properly but the precision necessary makes the moment of success so exciting!

We used Air-Fire clay so we simply let the finished whistles out to dry over the weekend to harden. They used acrylics for color and then finished them with a ceramic sealant. Some students even added a string so they could wear it around their neck and literally whistle while they worked!

The end result was colorful and bright music to everyone's ears. 

Thursday, February 9, 2017

Human Rights' Stamped into Stone

My rights as a citizen of the United States of America feel like they are being chipped away at, one vote at a time, one executive order at a time. I have always tried to not take these protections for granted, but it was easy to be a bit complacent when surrounded by like-minded individuals who are diligent about making an ever more peaceful and inclusive society. But when the voice of hatred started gaining volume last year, I became disheartened. 

I teach Ceramics in a St. Paul Public School near my house and began to worry for the thousands of multi-racial students enrolled there. Students started telling me how scared they were for their families and communities. I began to worry for my own children too, especially my daughters who's rights to decisions about their own bodies are currently being challenged. The despair becomes overwhelming when I hear the outright lies, fear and hatred spewed daily by the current administration. 

But the messages of "Love Trumps Hate" and "Stronger Together" were also powerful. I wanted to have a visual reminder of the power of peace and justice for all. I searched out some ideas to create my own symbol for this feeling and then happened upon a logo that is open to everyone to use and promote on the United Nations web site. (https://www.humanrightslogo.net/) It beautifully counters the negative energy with its calm, sweet, and positive force.

I noticed the next Human Rights Day was to be observed soon (December 10th) so I immediately started sculpting some clay stamps with the symbol. I decided to make pendants to be worn as protection charms. I added the logo to mugs and cups to be distributed as a daily reminder of the importance of equality for all. These are small tokens of good will but it helps me to stay focused on what can not be taken for granted any longer. And for inspiration I add these thoughts from the United Nations web site (http://www.un.org/en/events/humanrightsday/):


"We must reaffirm our common humanity. Wherever we are, we can make a real difference. In the street, in school, at work, in public transport; in the voting booth, on social media. The time for this is now. “We the peoples” can take a stand for rights. And together, we can take a stand for more humanity. It starts with each of us. Step forward and defend the rights of a refugee or migrant, a person with disabilities, an LGBT person, a woman, a child, indigenous peoples, a minority group, or anyone else at risk of discrimination or violence."

Peace, Love and Hope.


Thursday, March 31, 2016

Custom Stoneware Tile Installation Takes Shape

I have been installing the custom tiles in their new home and am happy to report they've found themselves to be quite comfortable there. It was both exciting and a relief to see the design taking shape. Making sure the tiles will fit in their given space is a bit tricky since the shrinkage rate varies from 15-18%. So to allow for this, I made a few extra pieces of differing widths.


I laid out the tiles and prepped the area. Then I slapped some mortar up on the wall. Diving in with the mortar is a sort of free-fall experience, but there's no other way to do it. Piece by piece, like putting together a puzzle, I installed the mural backsplash. (The white spacers keep the tiles from sliding around until they set.) With that installed, I started on the row of hand painted design tiles mixed in with the plain tiles along the entire countertop. Factory made tiles are all identical which makes installation a breeze, but the handmade nature of custom tiles requires some patient manipulation. Then the mortar needs to harden before you can start in with the grout, so I cleaned up and headed home.

Grouting seals the gaps and bonds the tiles together and keeps moisture from getting in. I chose a light sandy tone to blend in with the countertops, but many colors are available and changes the overall affect. The installation process involves pressing the grout in with a float, letting it set while keeping everything wiped down, and finally smoothing it out. For a final touch and added protection, I added some caulk. And that was that.

The sun is rising over the hills this morning as the rooster crows in a newly tiled kitchen.

Wednesday, March 16, 2016

Custom Kitchen Backsplash, Handmade Stoneware Tiles, A Step by Step Process

I have been busy designing and creating a kitchen backsplash, from deciding on the general layout to planning the overall theme to choosing a general color scheme. It has already been three months in the making. Tiles have to dry slowly which allowed me to carefully consider each step along the way.

First was to discuss what the clients wanted. Based on the location of the house in rural Wisconsin and their outdoor interests, we came up with a list of ideas. I measured and took pictures. I took all the information home and gathered my thoughts. One thing that kept coming back was the rooster trivet they have. The simplicity in the curves and the brightness of colors seemed to fit in well and made its way onto the backsplash that will be installed over the stove. Their love of nature and gardening inspired the tile themes that will run along the countertop, interspersed between plain tiles.


After the designing was finished, it was time to roll out the clay and start cutting. Each batch of twenty-five pounds made only about 35 tiles so I needed to repeat this step several times. When the tiles are initially cut they are too wet to handle without causing warping. They need to be covered with a hard board and allowed to harden. This step takes time, patience, and a lot of space in the studio! Every couple of days I would peek under the board (topped with paint cans for extra weight) and inspect them for moisture content. Finally they were ready for smoothing.
Each tile needs to be refined and shaped along its edge. I use burlap underneath to give some texture that will adhere better to the mortar, but I also turn each over and trim out some additional grooves with a ribbon tool.  Once this lengthy process is over and the tiles are completely bone dry, they can be bisque fired.

Meanwhile, I chose a color palette for the tiles. I wanted a bright, cheery theme without being too gaudy. I bought a new assortment of Amaco matte glazes and made a few test tiles. The background color was the hardest to choose and took me until I had already glazed the rooster mural and each decorative tile to finally realize which it should be. The dark blue in the rooster body was the natural choice. Like the blue of the sky, it would allow the richness of the colors in each design to be highlighted. And the light orange of the clients' kitchen would complement the blue as well.

Each hand carved design needed to be carefully glazed with fine brushes and then covered with wax resist. The wax keeps the background color off of the design. Then each tile was brushed with blue and fired again.

Next up is the installation. I bought some mortar and grout and will head over with all the tiles in the coming week. More pictures of the end result will surely follow. I love making custom orders because I know exactly where and how my work will be enjoyed. Now off to the kitchen - where a 'Guten Appetit' for my custom tile work is waiting! 

Friday, February 27, 2015

Ceramics at Washington Technology

It's official. I am the Ceramics Instructor at Washington Technology Magnet School! After discovering the kiln room tucked behind a classroom now filled with computers, the site coordinator and I declared it our mission to resurrect the equipment piled to the ceiling. It took some blood, (I smashed my finger between the slab rolling table and the kiln door) and a lot of sweat (I alone dragged around the entire contents of that room), but eventually I was able to access the buried kilns and fire them up. They turned on and worked their magic as hoped. So I ordered 500 pounds of clay, some new glaze, and a stroke of luck. The next Monday I got a classroom full of kids eager to get their hands on some of that clay.

But all that seems like ancient history now as the quarter keeps rolling speedily along. My students are moving into their forth hand-built project while simultaneously learning how to throw pots on the wheel.

When I look back to the first day it is hard to believe the progress that has been made. Some of these teens had never worked with clay before. So I keep watching them and listening to what works and what they find harder than I anticipated. This is an enrichment class for them which means it should enrich their lives, not cause frustration. I am working on getting them to relax and enjoy the work, not fight it. I believe computers are all fine and great and necessary, but can never replace the satisfaction one can get through tactile experiences. I want these kids to have both, to have it all. And with Ceramics having been added to the school's curriculum, I think they now do.

Tuesday, December 9, 2014

Glaze Workshop at Continental Clay

Amaco Glaze Workshop led by Diana Faris
I spent last Friday, December 5th, working with a group of potters at Continental Clay in Minneapolis. Continental Clay hosted an Amaco Workshop to explore a sampling of the vast variety of glazes they offer. The morning workshop focused on low-fire clay and glazes, the type I use in the classes I teach. There are over 60 classroom lesson plans included on the Amaco website and two of these were chosen for this workshop. The first was a cubist style slab-built human portrait project.

cubist clay portrait project
We got right to work, the leader of the workshop explaining as our hands kept busy. I was so absorbed in my own piece that I forgot to even look up and see what else was going on until one of the other participants asked to photograph my figure. It snapped me out of my world and so I then walked around the room myself, happy to see all the creative ideas manifesting themselves onto the slabs. We used colored underglazes directly onto the clay, not even waiting for it to dry. That felt strange since I am not accustomed to using colored slip and instead wait to decorate until after the first firing. I am curious to see how well the colors take after I fire it up. This might be a good project to include in the next quarter's syllabus.

majolica tile project
We quickly moved onto the second lesson plan of majolica styled tiles. I was especially excited for this since my favorite city in the world is Granada, Spain, once a moorish town that is plastered wall to wall with majolica tiles and pottery. Majolica is a technique of glazing with a tin-based white glaze and then brushed with patterns of color on top. Even though I was working as fast as I could, there was not time to finish getting all the colors onto it. Thankfully I was able to take my glaze palette home to finish it.

salt jar with 'Potter's Choice' glazes
I then rushed over to the martial art class I teach in St. Paul, knowing I would miss the first part of the afternoon workshop. But I was able to dive right into the mid-fire glaze session going on when I headed back. For this workshop we were asked to bring some of our own pots and sample tiles to experiment on with the Potter's Choice collection of glazes. This collection is really great because when combining these glazes, not only do the results differ enormously but they flow and blend beautifully, something until recently was only possible with high fire glazes. The poor girl next to me was assuredly horrified as I think I got more on my hands and face than on my pots as my brushes flailed about, trying to get all my pieces glazed before the session ended. She was very kind though and we had fun laughing at the scenario.

Amaco Glaze Workshop at Continental Clay Company
Besides all the fun with the hands-on projects, I learned quite a bit about the business end too. I hadn't realized Continental Clay was a family-owned company with such endearing owners. Those I met throughout the day were super friendly and seemed to have a lot of fun together; it made me wish I were part of their clan. And the building is much bigger than you can tell from the retail front. The shop goes on and on down the entire block with rooms for each step of their work. A couple I talked to there said that 'back in the day' it was the Honeywell factory where a friend of theirs used to work. It is a neat old industrial space to be in with a lot of history. I love that these buildings are still being put to good use.

One of the owner's daughters told me they will be having more workshops like this in the future. I couldn't have been happier with the day's workshops, and so hearing about the possibility of more was that much more exciting. Spending time with other potters is inspirational for me. Discovering new techniques for teaching is a gift for my classes. And staying on top of new products keeps things fresh. I am so thankful for having been given this opportunity. A sincere thanks to both Continental Clay and Amaco.

Tuesday, October 28, 2014

A Study of Sculpture

I will be teaching a clay sculpture class this winter for high schoolers. We will meet every school-day afternoon for nine weeks. It is an opportunity to delve deeper with a group of kids into the wide range of possibilities that clay allows than I have ever gone. So I have been gathering a collection of some of my previous projects and ideas for this class and putting them together into a curriculum.

We will probably start off with simple tiles rolled out and then use adding and subtracting techniques to create a design. I made relief tiles with a group of kids while teaching ArtAdventure through the MIA. It is a great beginning level project because of the two dimensional aspect of the flat surface, while starting to introduce some 3D elements into it.

We can then move on to simplified 3D animal and human figures. This project requires only pinching and prodding to create with a minimal amount of detail work, using just a toothpick. These pinched character pieces really come alive with ceramic acrylics.

I also want them to have a chance to work with balloon-assisted forms, a technique I learned from Kevin Caufield at the Northern Clay Center many years ago. You start with a balloon onto and around which you add clay. Human busts and animals are typical ideas for balloon sculpture, but for a geography project with my kids I had them make the earth this way. It is a simple way to get a larger, hollowed out shape.

And of course I want them to build a three-dimensional piece from slabs. I had the TeenVenture classes this past summer build structures that would house someone or something. They kids added design elements to the clay, created an environment for their structure, and then added their pinched clay characters. The possibilities with slabs of clay are really endless, and I loved seeing the variety of homes that were built. 

For the final project I would like them to experiment with the human form. To make such a complicated shape, a wire skeleton needs to be created, carefully considering proportions. Because our eye is highly attuned to the human figure, we detect flaws easily. It will take patience and experience to execute a proper shape that I hope they will have gained through the first weeks of the class. I tested this project out on my own daughter, who is 15, to see how she would fare. The photo below is of her human figure study (unglazed). 

I am excited to see what ideas and capabilities the high school-aged students at Washington School will have. The younger students I typically teach clay work to have always impressed me with what even they can accomplish. So with the added class time coupled with a higher degree of maturity, there should be some amazing sculptures materializing this winter. 

Bring on the kids and the clay!

Wednesday, July 23, 2014

Empty Bowls Project with St. Paul Kids

I spent the past two weeks working on a community and leadership-building project as part of the St. Paul Public School's TeenVenture Summer Camps. The objective was an Empty Bowls initiative to raise awareness and funding for St. Paul's Keystone Community Services Agency. 

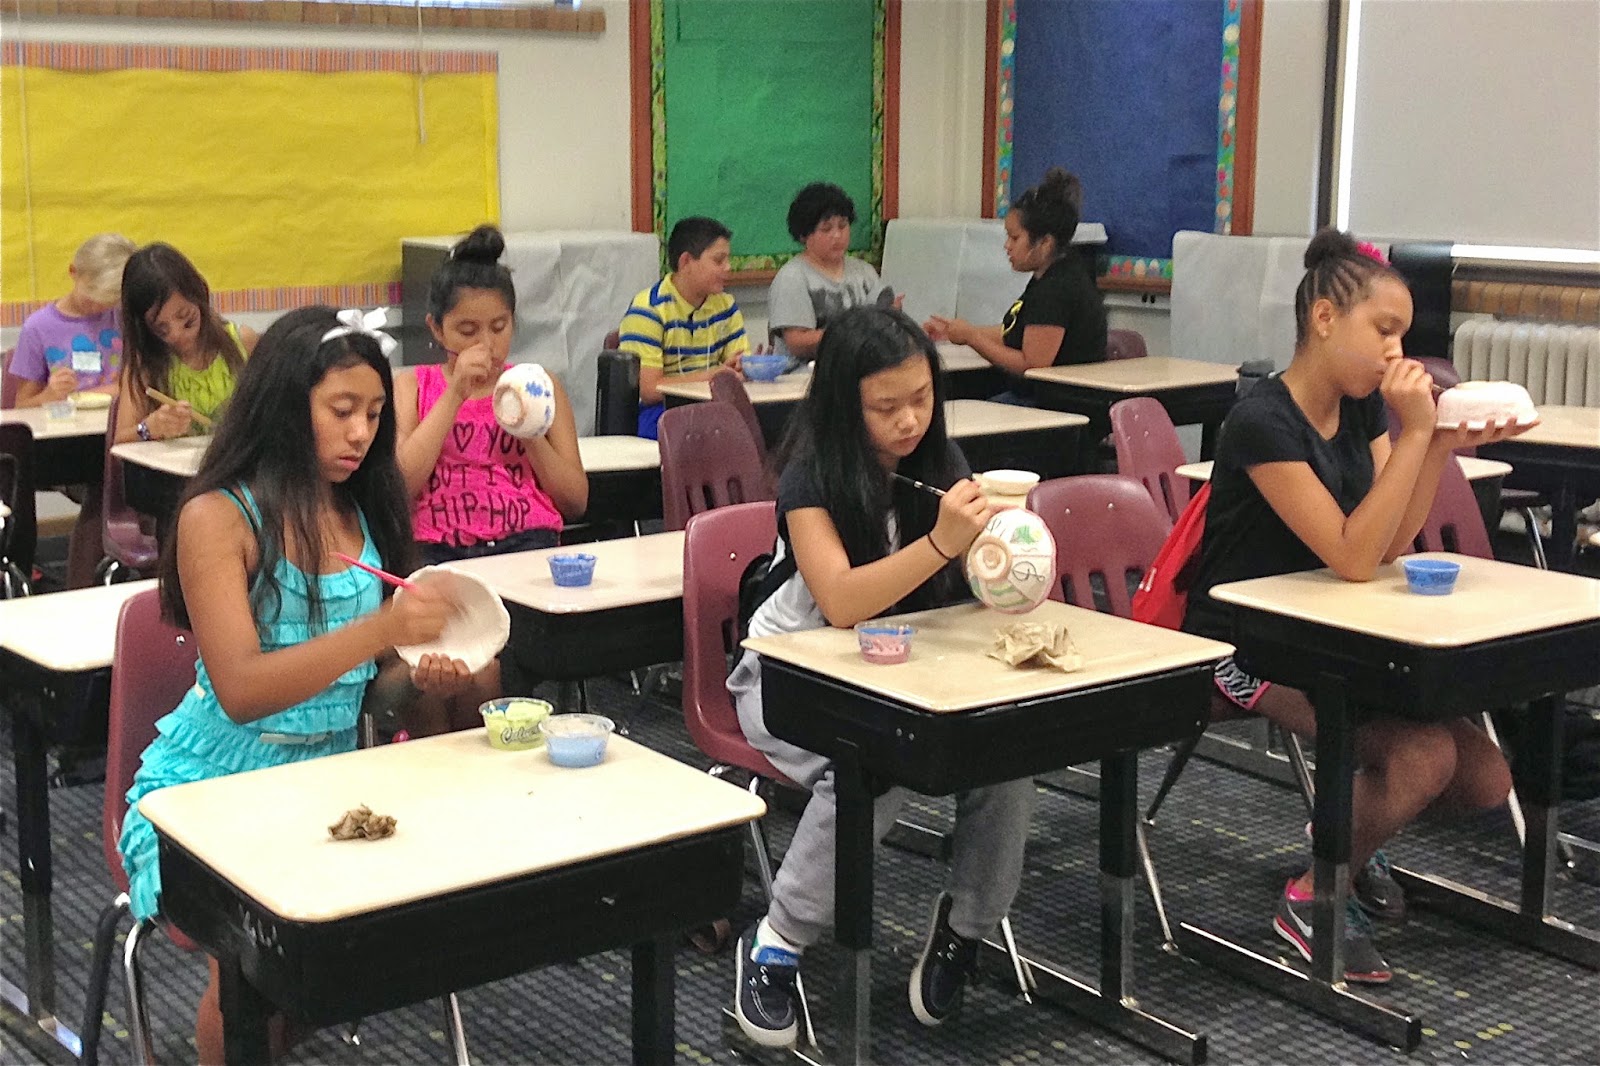
The kids at the camp were grouped into various roles including Marketing, Packaging, Sales, and my group, Bowl-Making. I led them through the process of making clay bowls from beginning to end. I had two groups making pots, twenty kids in each group, with a couple youth leaders to help out. The youth leaders couldn't resist the clay and joined in to make bowls of their own, so the end result was 46 bowls that would be sold to raise money for the designated recipient.

The kids used molds to form the general shape of the bowl and then added individual stamps, engravings, and patterns to make each unique. After bringing their pieces home for the weekend to fire, I returned the following week with all of their outstanding bowls ready for glazing. (They had been so careful in the building process that there was not one single casualty in the kiln!)

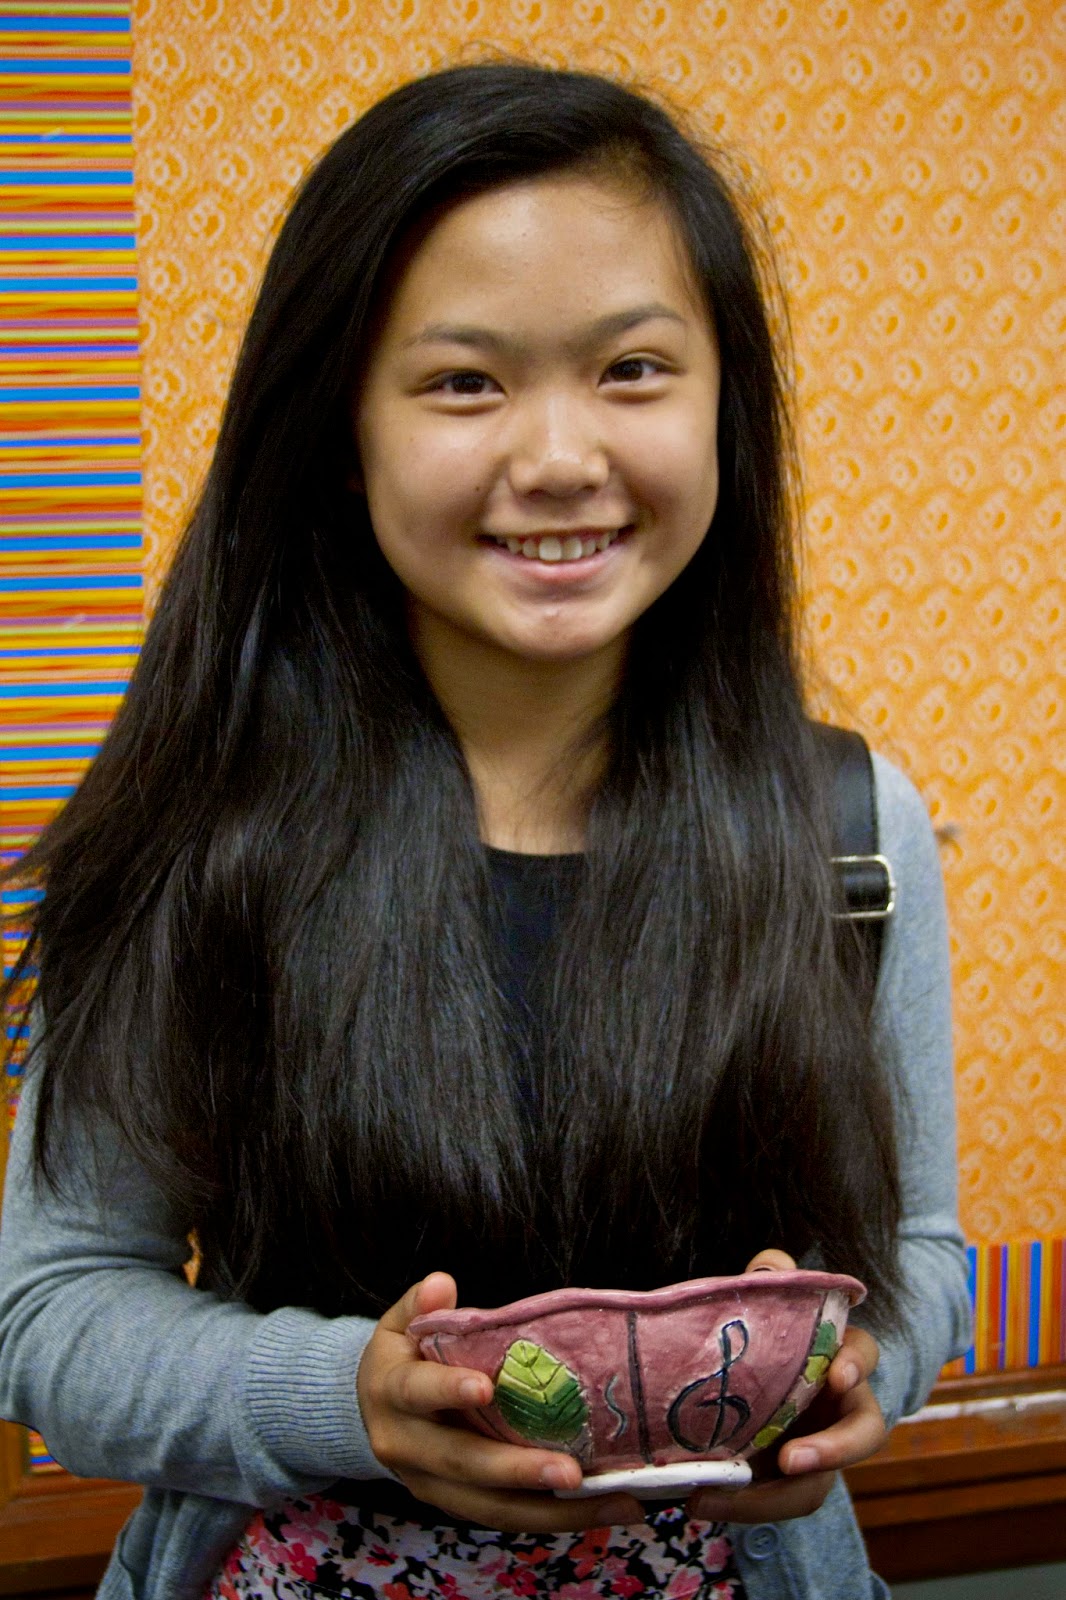
The patient deliberation of the students to add the underglaze colors with fine-detailed brushes was striking. The end results were truly impressive and I heard comments like "awesome," "beautiful," and "I'm going to ask my dad to buy mine!" as they smiled and beamed with pride while I uncovered each finished piece. Then they packed each up individually and headed out to various St. Paul locations to sell their special wares.


Learning to be part of a community and think about the greater good is a mature thought. I think the kids in this camp are that much closer to grasping this concept and making an impact of their own after attending this camp. I feel very fortunate to have been a part of the Empty Bowls project with them and having witnessed the color and beauty that was added to our community with their talent and goodwill.