Tuesday, December 9, 2014

Glaze Workshop at Continental Clay

Amaco Glaze Workshop led by Diana Faris
I spent last Friday, December 5th, working with a group of potters at Continental Clay in Minneapolis. Continental Clay hosted an Amaco Workshop to explore a sampling of the vast variety of glazes they offer. The morning workshop focused on low-fire clay and glazes, the type I use in the classes I teach. There are over 60 classroom lesson plans included on the Amaco website and two of these were chosen for this workshop. The first was a cubist style slab-built human portrait project.

cubist clay portrait project
We got right to work, the leader of the workshop explaining as our hands kept busy. I was so absorbed in my own piece that I forgot to even look up and see what else was going on until one of the other participants asked to photograph my figure. It snapped me out of my world and so I then walked around the room myself, happy to see all the creative ideas manifesting themselves onto the slabs. We used colored underglazes directly onto the clay, not even waiting for it to dry. That felt strange since I am not accustomed to using colored slip and instead wait to decorate until after the first firing. I am curious to see how well the colors take after I fire it up. This might be a good project to include in the next quarter's syllabus.

majolica tile project
We quickly moved onto the second lesson plan of majolica styled tiles. I was especially excited for this since my favorite city in the world is Granada, Spain, once a moorish town that is plastered wall to wall with majolica tiles and pottery. Majolica is a technique of glazing with a tin-based white glaze and then brushed with patterns of color on top. Even though I was working as fast as I could, there was not time to finish getting all the colors onto it. Thankfully I was able to take my glaze palette home to finish it.

salt jar with 'Potter's Choice' glazes
I then rushed over to the martial art class I teach in St. Paul, knowing I would miss the first part of the afternoon workshop. But I was able to dive right into the mid-fire glaze session going on when I headed back. For this workshop we were asked to bring some of our own pots and sample tiles to experiment on with the Potter's Choice collection of glazes. This collection is really great because when combining these glazes, not only do the results differ enormously but they flow and blend beautifully, something until recently was only possible with high fire glazes. The poor girl next to me was assuredly horrified as I think I got more on my hands and face than on my pots as my brushes flailed about, trying to get all my pieces glazed before the session ended. She was very kind though and we had fun laughing at the scenario.

Amaco Glaze Workshop at Continental Clay Company
Besides all the fun with the hands-on projects, I learned quite a bit about the business end too. I hadn't realized Continental Clay was a family-owned company with such endearing owners. Those I met throughout the day were super friendly and seemed to have a lot of fun together; it made me wish I were part of their clan. And the building is much bigger than you can tell from the retail front. The shop goes on and on down the entire block with rooms for each step of their work. A couple I talked to there said that 'back in the day' it was the Honeywell factory where a friend of theirs used to work. It is a neat old industrial space to be in with a lot of history. I love that these buildings are still being put to good use.

One of the owner's daughters told me they will be having more workshops like this in the future. I couldn't have been happier with the day's workshops, and so hearing about the possibility of more was that much more exciting. Spending time with other potters is inspirational for me. Discovering new techniques for teaching is a gift for my classes. And staying on top of new products keeps things fresh. I am so thankful for having been given this opportunity. A sincere thanks to both Continental Clay and Amaco.

Tuesday, October 28, 2014

A Study of Sculpture

I will be teaching a clay sculpture class this winter for high schoolers. We will meet every school-day afternoon for nine weeks. It is an opportunity to delve deeper with a group of kids into the wide range of possibilities that clay allows than I have ever gone. So I have been gathering a collection of some of my previous projects and ideas for this class and putting them together into a curriculum.

We will probably start off with simple tiles rolled out and then use adding and subtracting techniques to create a design. I made relief tiles with a group of kids while teaching ArtAdventure through the MIA. It is a great beginning level project because of the two dimensional aspect of the flat surface, while starting to introduce some 3D elements into it.

We can then move on to simplified 3D animal and human figures. This project requires only pinching and prodding to create with a minimal amount of detail work, using just a toothpick. These pinched character pieces really come alive with ceramic acrylics.

I also want them to have a chance to work with balloon-assisted forms, a technique I learned from Kevin Caufield at the Northern Clay Center many years ago. You start with a balloon onto and around which you add clay. Human busts and animals are typical ideas for balloon sculpture, but for a geography project with my kids I had them make the earth this way. It is a simple way to get a larger, hollowed out shape.

And of course I want them to build a three-dimensional piece from slabs. I had the TeenVenture classes this past summer build structures that would house someone or something. They kids added design elements to the clay, created an environment for their structure, and then added their pinched clay characters. The possibilities with slabs of clay are really endless, and I loved seeing the variety of homes that were built. 

For the final project I would like them to experiment with the human form. To make such a complicated shape, a wire skeleton needs to be created, carefully considering proportions. Because our eye is highly attuned to the human figure, we detect flaws easily. It will take patience and experience to execute a proper shape that I hope they will have gained through the first weeks of the class. I tested this project out on my own daughter, who is 15, to see how she would fare. The photo below is of her human figure study (unglazed). 

I am excited to see what ideas and capabilities the high school-aged students at Washington School will have. The younger students I typically teach clay work to have always impressed me with what even they can accomplish. So with the added class time coupled with a higher degree of maturity, there should be some amazing sculptures materializing this winter. 

Bring on the kids and the clay!

Wednesday, July 23, 2014

Empty Bowls Project with St. Paul Kids

I spent the past two weeks working on a community and leadership-building project as part of the St. Paul Public School's TeenVenture Summer Camps. The objective was an Empty Bowls initiative to raise awareness and funding for St. Paul's Keystone Community Services Agency. 

The kids at the camp were grouped into various roles including Marketing, Packaging, Sales, and my group, Bowl-Making. I led them through the process of making clay bowls from beginning to end. I had two groups making pots, twenty kids in each group, with a couple youth leaders to help out. The youth leaders couldn't resist the clay and joined in to make bowls of their own, so the end result was 46 bowls that would be sold to raise money for the designated recipient.

The kids used molds to form the general shape of the bowl and then added individual stamps, engravings, and patterns to make each unique. After bringing their pieces home for the weekend to fire, I returned the following week with all of their outstanding bowls ready for glazing. (They had been so careful in the building process that there was not one single casualty in the kiln!)

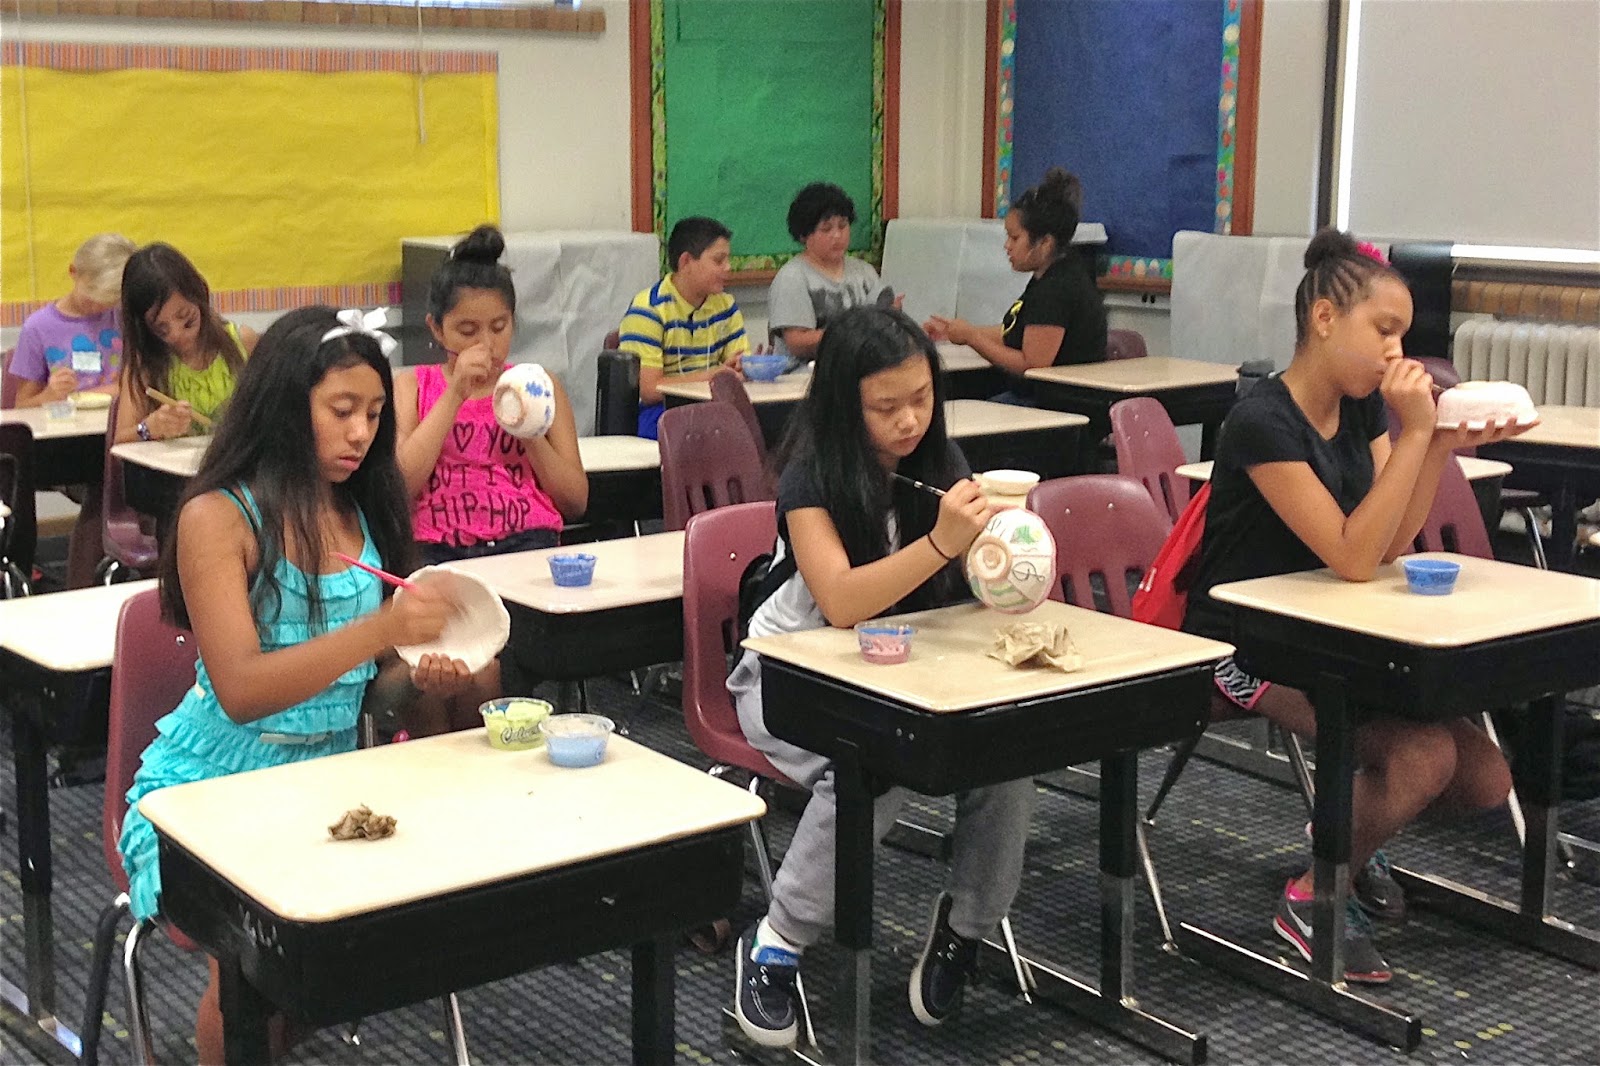
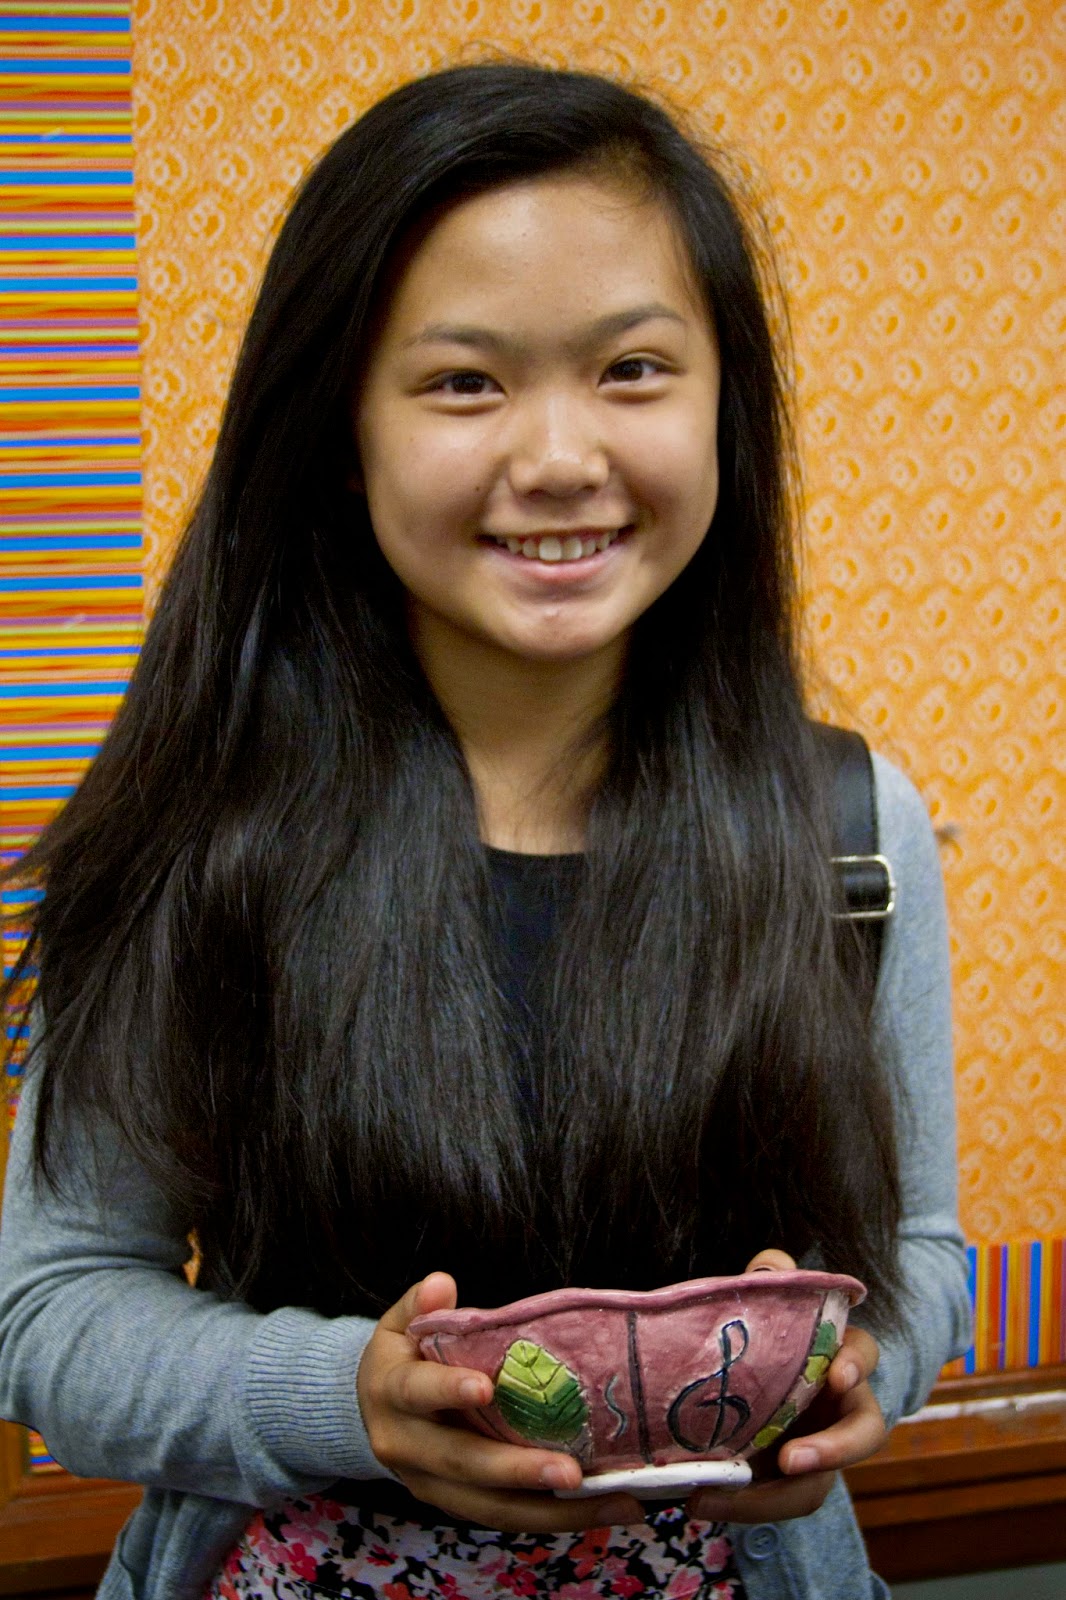
The patient deliberation of the students to add the underglaze colors with fine-detailed brushes was striking. The end results were truly impressive and I heard comments like "awesome," "beautiful," and "I'm going to ask my dad to buy mine!" as they smiled and beamed with pride while I uncovered each finished piece. Then they packed each up individually and headed out to various St. Paul locations to sell their special wares.


Learning to be part of a community and think about the greater good is a mature thought. I think the kids in this camp are that much closer to grasping this concept and making an impact of their own after attending this camp. I feel very fortunate to have been a part of the Empty Bowls project with them and having witnessed the color and beauty that was added to our community with their talent and goodwill.

Tuesday, June 24, 2014

Clay Sculpture at Summer Camp

If I could've cherry-picked my dream job for the summer I would have chosen precisely what I am doing. I am the Sculptor Instructor for the SPPS TeenVenture Summer Camps. I am teaching various clay art techniques to a bunch of junior high kids! 
For the first camp in the series, the Creative Arts Camp, the kids have been assigned to build houses. They are using slab-building techniques to make 3D structures that will house anyone or anything they choose. From a mushroom shaped gnome home to a castle fit for a king, I am impressed by the creativity and dexterity they are exhibiting.

While the houses are preparing to be fired, we are moving on to our next sculpting project, forming the inhabitants of the homes. Their challenge is to pinch, coil and sculpt these figures small enough so that they will fit inside their homes. I am so excited to see all the little peoples, animals, princesses and fairies that are sure to emerge like magic from their hands!

Next week they will glaze and paint their treasures and finally display them for the end-of-camp showcase. We are having such a great time. Yay for summer jobs as awesome as mine! (Coming up next: Making hand-built bowls as a fundraising project that will benefit local food shelves as part of the Leadership Camp.)


Thursday, May 8, 2014

My Apprenticeship at Eckel's Pottery


working at Eckel's, 1996
It was only four months of my life, eighteen years ago. But the experience I gained and the friendships formed during the summer of 1996 are with me to this day. I had been accepted as an apprentice to the master potter, Bob Eckels, in Bayfield, Wisconsin. I would work every day in a real pottery. I would actually sell my wares to strangers. I would learn the business and improve my skills. I couldn't have imagined a better position.

I had just been married. Over 350 friends and family came to celebrate that day, filling my parents' backyard with color and life. One of the guests was my cousin from Bayfield who I had only met once as young girl. He asked me to dance and then, with no hesitation invited us to stay with him. So it was from a pop-up camper set in the middle of his apple orchard that I would bike off to the pottery each day.
Bob Eckels, vessel - 1996
The whole Eckels family worked together to make that business a success. Bob was invariably sitting at his wheel, laughing with customers while his hands masterfully formed his signature pots. With a grand flourish he would run the teeth of a miniature gear head along the side of the pot. Lu, his wife, took care of anyone and anything that needed it. She was always smiling. Dede was in the back room working with porcelain. She painted on her beautifully smooth pieces as if they were stretches of canvas waiting for her skilled brushwork. Steve practiced efficiency at the wheel, trying to see how few pulls would be required to make a pot. The concept of "less is more" is what comes to mind when I think of his work. Then there was Sandy. She was like family to them. Her gentle nature and kindness gushed from her. And she worked her magic at the wheel too. It was a gift being able to be part of this working business, to see how everyone had their role and how together it all made sense.


Sandy Hagist, honey pot - 1996
Sandy just died this week. Even though I haven't seen her in years, I feel the loss. I remember her asking to make a trade for one of my body vases that she then displayed in her living room. It was an honor for me and I will not forget the gesture. And from this I have a honey pot of hers that I adore.


my nude body vases- 1996
How can one summer be etched like stone in my memory? First off, the wealth of skill and knowledge that surrounded me was incredible and unforgettable. But, even more outstanding was the constant generosity of everyone there that made such a deep impression. I am so grateful for those four months. I will not forget any of it.

Tuesday, January 14, 2014

Making a Candle Luminary, Step by Step


Throw the form. The overall shape needs to transition from a base large enough to hold a candle, gradually outward for fullness, and topped off with a cinching in for a handle at the top. The clay warms with the burning candle inside so the out-turned lip at the top provides a very practical purpose, besides the visual closure it gives to the piece.

Trim the bottom. Every pot thrown on a wheel is improved upon when trimmed up on the bottom. Besides lightening up the actual weight of any unnecessary clay, it also provides a lift visually. The trimmed edge is a sturdy foot for the form, keeping it firmly planted where it is placed.

Cut the opening. Using a potter's needle, the luminary gets cut into two pieces. The bottom is a base for the candle, holding in one place any dripping wax. The top becomes a cover, keeping the flame safely away from any flammables or children. Only the glow of the candle will penetrate a luminary.

Sketch the design. A design or image then gets etched into the clay. The size and overall shape of the luminary is considered when deciding what will emerge. The two-dimensional sketch gets worked until it is ready to be carved.

Carve the design. The luminary is like a shadow puppet. The silhouette will be cast onto nearby surfaces from the flickering light of the flame. It will dance and play on the walls. Sharp carving tools provide a crisp edge at this step in the process.


Sculpt the design. Because the luminary is also viewed in pure daylight, dimension is added to the design, by adding and subtracting clay where needed. Sculpting tools give detail and realism, getting it ready for some color. The luminaries are then bisqued, or fired, in a kiln for the first time.

Stain and wax. Colored stains are then brushed onto the design to distinguish it from the rest of the luminary, taking care to accentuate details. To protect this area from glaze, a wax is painted on. The wax resists any additional glaze or stain to be applied. 

Glaze and final firing. The luminaries are dipped in a bat of liquid glaze, in a color that will compliment the sculpted design. Any excess glaze is wiped off carefully and then it is left to dry. The luminary is finally placed back into the kiln, heated to over 2200 degrees, and comes out ready for flight! Luminaries take great care each step of the way, but the final result as it dances atop the mantel make the work worthwhile.